The PineCube is a cheap, open-source IP camera that caught my eye last year. It’s been sitting on my desk, unused, for a few months now. I recently noticed a slew of small plants in the pot next to my computer and thought this would be the right time to capture their growth. Now, I have a PineCube attached to a mic-stand overlooking a sundew that I transplanted earlier this year.
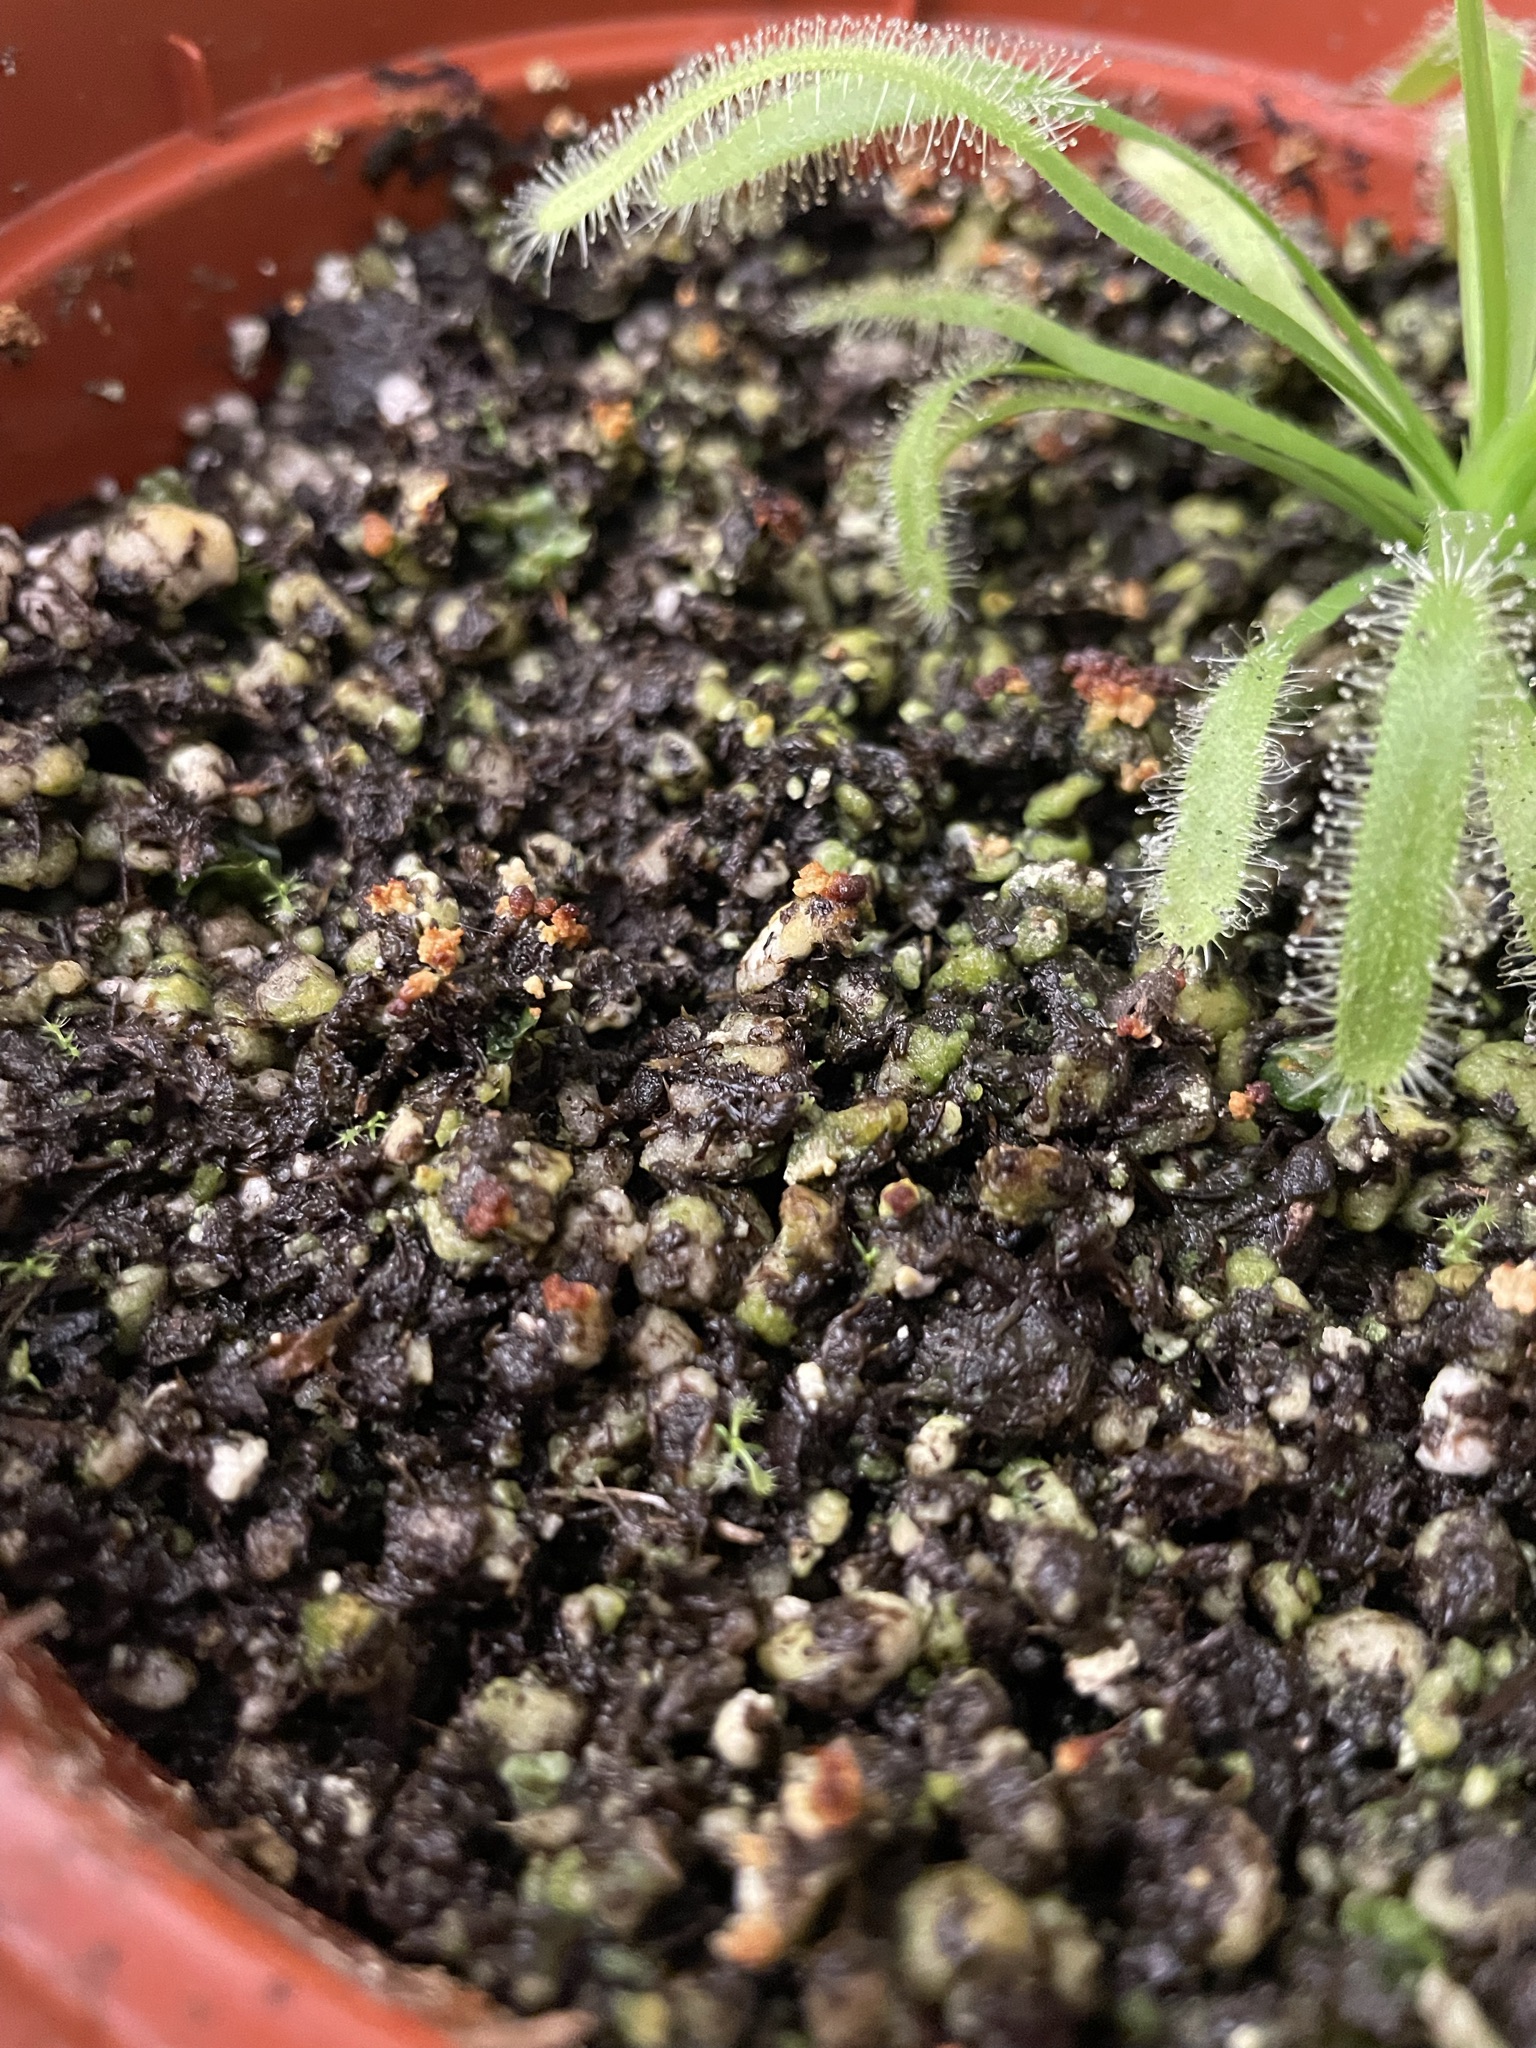 There are dozens of small sundews sprouted from seeds taken from outside
plants.
There are dozens of small sundews sprouted from seeds taken from outside
plants. Setting up the PineCube
I used the PineCube wiki for most of the setup, but it did require some hacking to bend to my will. I used the pre-built Armbian build as the base operating system.
The trickiest problem setting up the PineCube was connecting to wifi. To set up the wireless configuration, I needed to shell into the device. To do this, I ended up connecting it to an Arduino that I had set as a serial console. I connected pins 6, 8, and 9 to GND, RX, and TX on the Arduino after shorting RESET and GND. Then I could connect using putty on COM3 with the baud rate set to 115200.
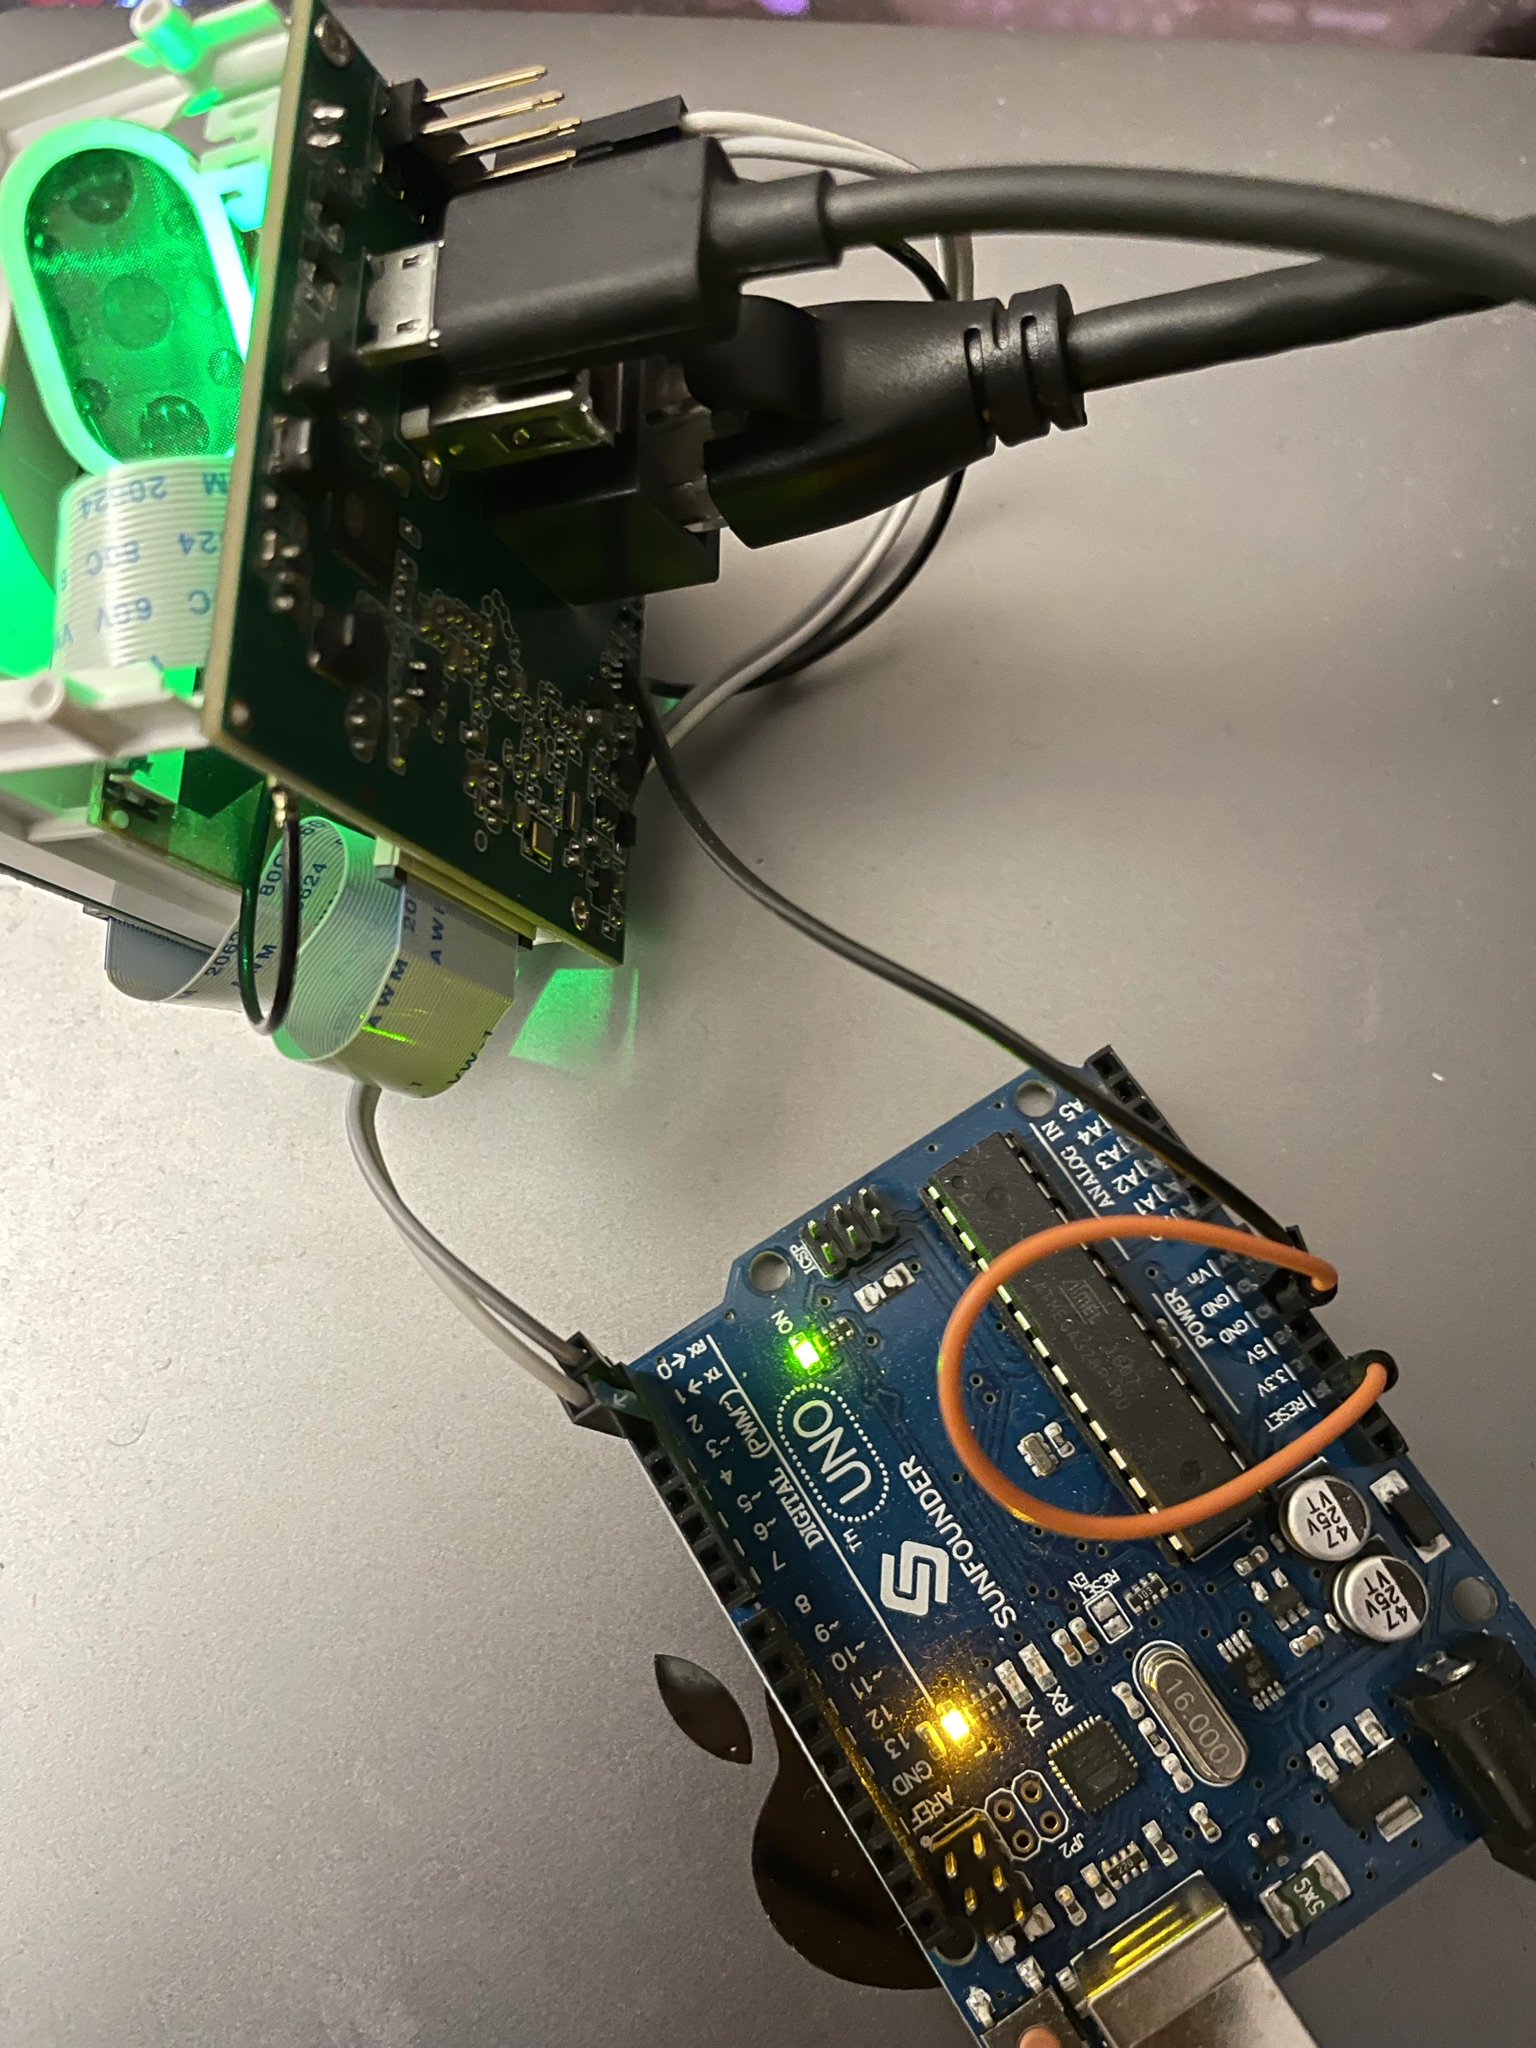 The arduino configured as a serial connection for console access. I used a
network bridge on my desktop for installing packages when wifi kept failing on
reboots.
The arduino configured as a serial connection for console access. I used a
network bridge on my desktop for installing packages when wifi kept failing on
reboots. Once inside, I used NetworkManager (nmcli) to set up the wifi. However, after
the first session, the connection failed to work again. I did some research and
decided that this was probably the fault of band steering in the Xfinity router
that we’re using in the apartment. This bug about wpa_supplicant and
band-steering reflects some
of the issues I’ve had the network. I ended up moving on to iwd as the wifi
backend since there options to prefer the 2.4GHz network over the 5Ghz
network.
Sadly, this didn’t end up being the right solution.
Still, as I tried out different solutions, I noticed that turning the radio off
and on again seemed to allow the initial connection to the network to succeed.
So I ended up writing this ugly script under /usr/local/sbin/connect-wifi:
#!/usr/bin/env bash
# /usr/local/sbin/connect-wifi
set -x

ssid=$1
password=$2

nmcli con delete "$ssid"
nmcli radio wifi off
nmcli radio wifi on
until nmcli dev wifi | grep "$ssid"; do sleep 1; done
nmcli dev wifi con "$ssid" password "$password"
Then I wrote a systemd service that would automatically bring the wifi network upon reboot. The service is vital for being able to ssh into the device without connecting to the serial console.
[Unit]
Description=Start wifi automatically
After=NetworkManager.service iwd.service

[Service]
ExecStart=/usr/local/sbin/connect-wifi "<SSID>" <PASSWORD>
TimeoutSec=120

[Install]
WantedBy=multi-user.target
Enabling the service and rebooting lets me ssh into the device! I disconnected my Arduino and continued with the freedom from cables. Yes, the password is visible in plaintext, but it requires administrative privileges to see. It’s not that sensitive in the grand scheme of things and is standard practice with network automation in Linux.
Taking pictures
Taking a picture took quite a bit of trial and error, but I found a solution
utilizing fswebcam that works well.
media-ctl --set-v4l2 '"ov5640 1-003c":0[fmt:JPEG_1X8/1280x720]'
fswebcam --frames 30 --skip 1 -r 1280x720 test.jpeg
python3 -m http.server
The first command sets the v4l2 driver to set up the camera for JPEG images at 1280x720. The second command takes the photo. We skip the first frame because it’s typically garbage/null and causes error output. I choose to collect 30 frames which helps with the image quality. Finally, I run an HTTP server in the current directory to navigate it from my web browser to look at the image.
I also highly recommend the socat/GStreamer solution for streaming from the PineCube because it’s by far the easiest to set up. Install the following packages:
sudo apt-get install
    gstreamer1.0-plugins-good
    gstreamer1.0-plugins-bad
    gstreamer1.0-plugins-ugly
    gstreamer1.0-x
    gstreamer1.0-tools
In mjpeg-response.sh:
#!/bin/bash
media-ctl --set-v4l2 '"ov5640 1-003c":0[fmt:JPEG_1X8/1920x1080]'
b="--duct_tape_boundary"
echo -en "HTTP/1.1 200 OK\r\nContent-type: multipart/x-mixed-replace;boundary=$b\r\n\r\n"
gst-launch-1.0 v4l2src
    ! image/jpeg,width=1920,height=1080
    ! multipartmux boundary=$b
    ! fdsink fd=2 2>&1 >/dev/null
In run-mjpeg.sh:
#!/bin/bash
socat TCP-LISTEN:8000,reuseaddr,fork EXEC:./mjpeg-response.sh
This script has been handy for debugging the camera placement, although there’s only a single frame every few seconds. I haven’t figured out a great way to stream video at a reasonable framerate from the device, but I’m not interested in having a live stream anyhow.
Mounting the Camera
With some advice from my brother, I bought a cheap mic stand from Amazon and some zip ties. The mic stand turned out to be an excellent way to mount the whole device and be stationary for very long periods. Zip ties were surprisingly effective with the form-factor of the device, although getting the diagonal zip-tie required careful placement.
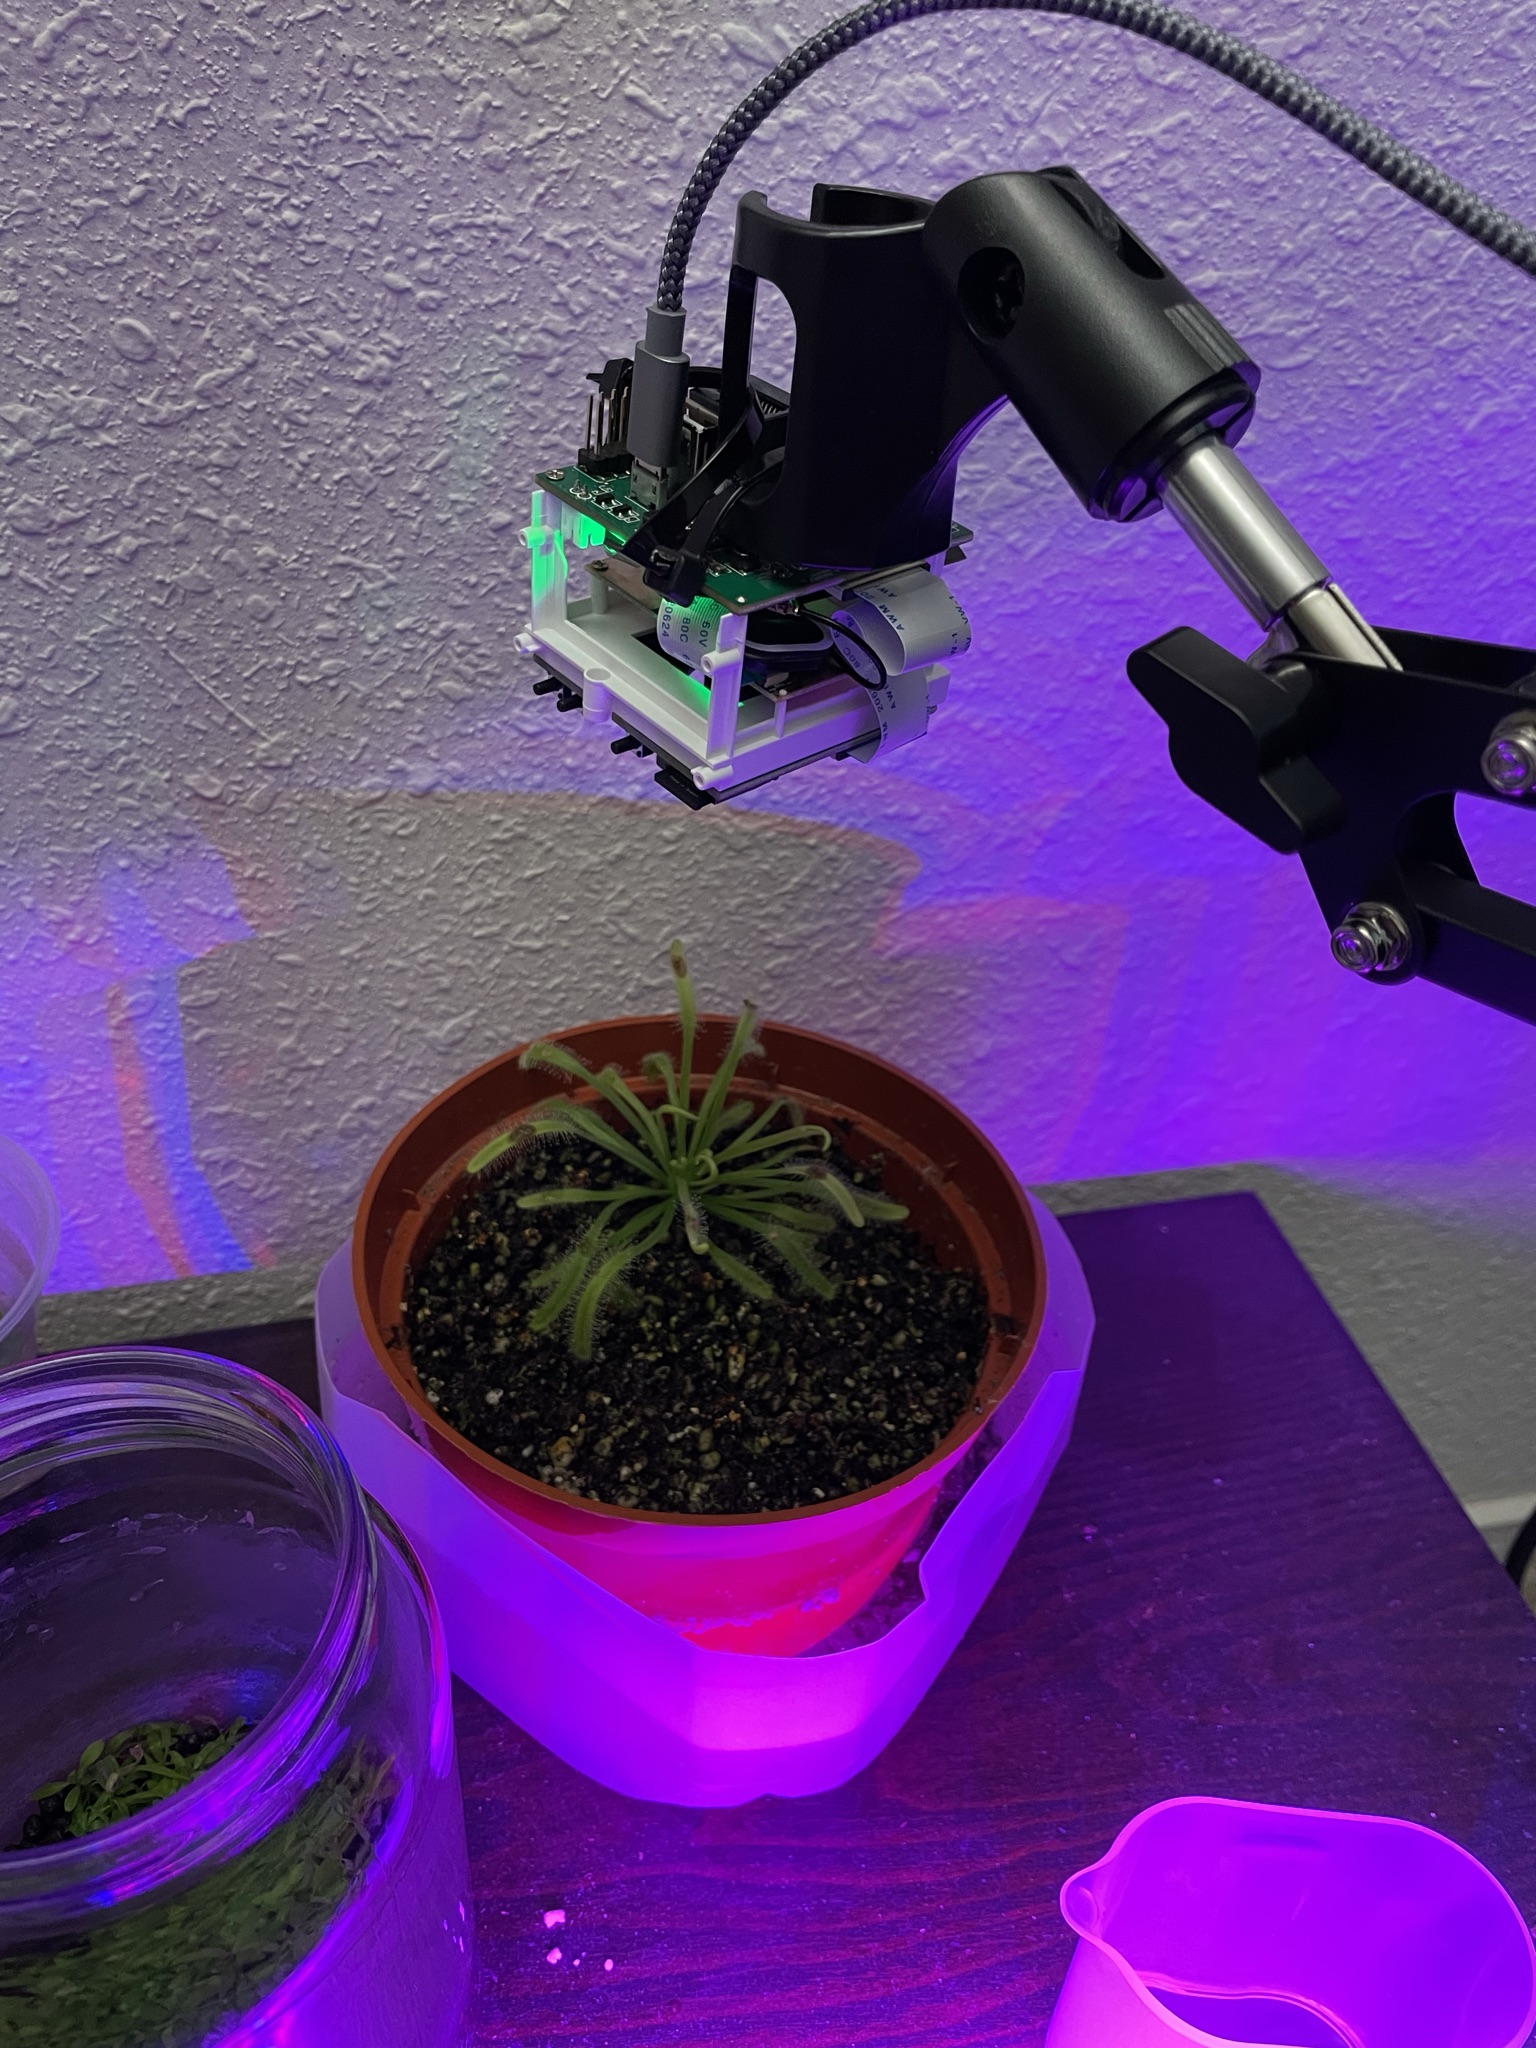 The PineCube is mounted by zip-ties onto the mic stand, overlooking the
plant.
The PineCube is mounted by zip-ties onto the mic stand, overlooking the
plant. Automatically uploading to Google Cloud Platform
I installed google-cloud-sdk on the device and set up a script on my crontab:
#!/bin/bash

base=${1:-/home/anthony/captures}
mkdir -p $base

date=$(date +"%Y%m%d")
hour=$(date +"%H%M")
output=${base}/${date}${hour}.jpeg

media-ctl --set-v4l2 '"ov5640 1-003c":0[fmt:JPEG_1X8/1280x720]'
fswebcam --frames 30 --skip 1 --no-banner -r 1280x720 $output

if [[ -n $PHOTO_ONLY ]]; then
    echo "exiting early"
    exit
fi

gsutil cp $output gs://acmiyaguchi/pinecube/captures/
The crontab is simple:
0 * * * * /home/anthony/photo.shEvery hour, run the script to take a photo and upload it to the cloud bucket. Now I have quite a few images that I can use for image processing.
Now the waiting game
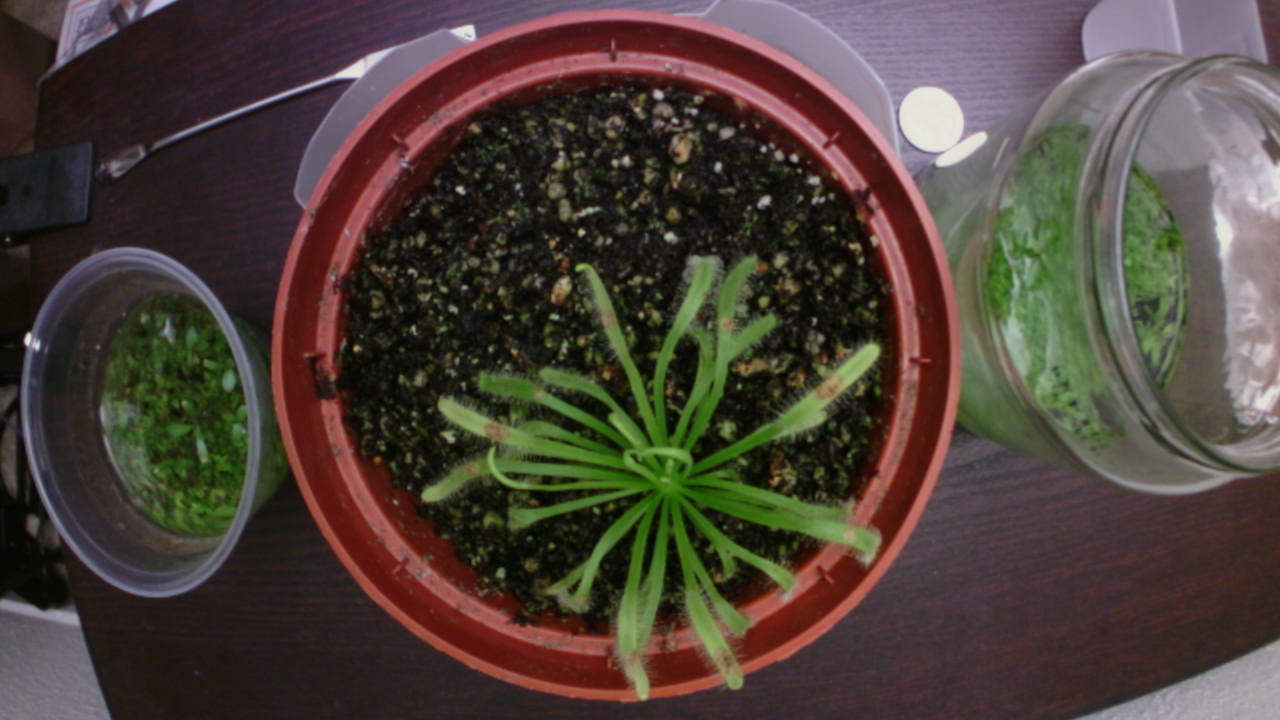
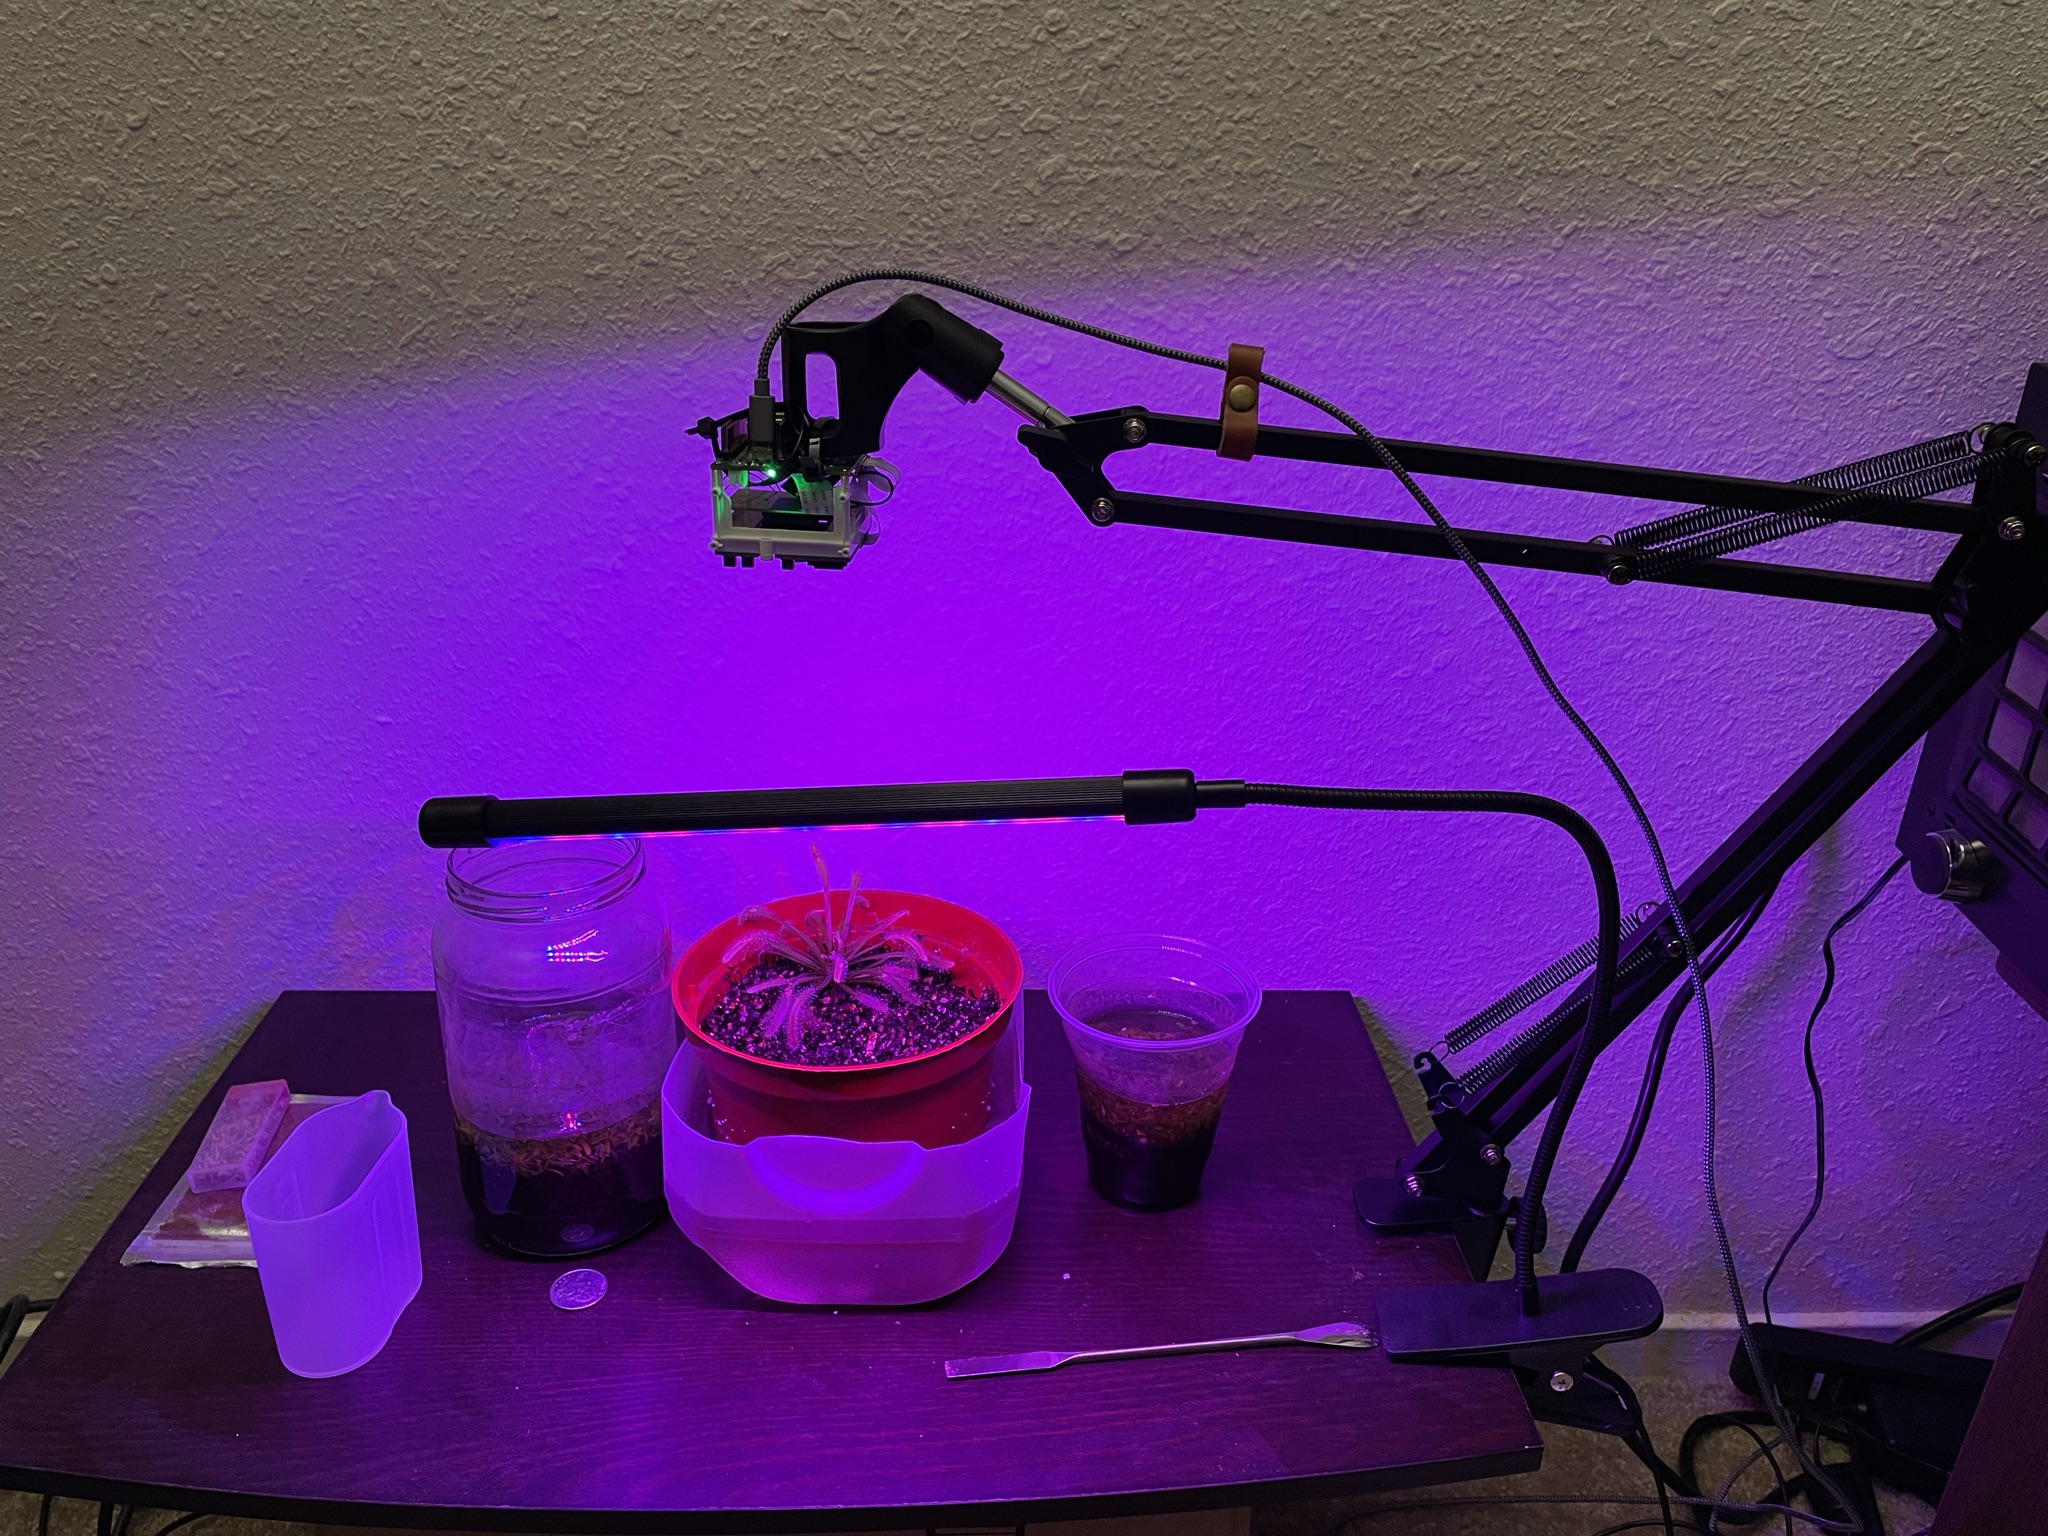 The final setup for capturing a time lapse.
 Setting up the system has been fun (and frustrating), but now the more manageable parts of the project lie ahead. I’ll be setting up an image processing pipeline to create a time-lapse, and also explore color normalization to deal with the grow light. I also want to do some things like count the number of leaves that the plant has over time.
Now that I understand how the PineCube works, I would consider purchasing another one in the future. However, for those considering purchasing one — it will take some time to figure out the details in getting a functional system online.